
Persona
Clients, program office users and system administrators
How to steps
Information in this article reflects a standard Enterprise configuration. Your Enterprise platform is based on your organization’s configuration. Settings and/or data visibility rules may vary slightly from what is described.
As a program office user, you may have administrative rights to add a new user. You can add other program office users, hiring managers, suppliers, and more.
As you build a user’s profile, here’s some of the information you need to provide and may need to verify in advance.
| Email field | The email address to which you want this user’s system notifications sent. |
|---|---|
| Culture list | The Culture setting determines how dates display to a user, such as, MM/DD/YY for en-US and DD/MM/YY for en-GB. |
|
|
|
|
| Be sure to assign both a Role and a User Type! (Users can be assigned more than one depending on their assigned tasks.) Use the selection lists to assign roles and click Search located next to User Types to open the selection dialog box. User roles determine which actions a user can take within Beeline VMS in addition to their visibility to system data. User types determine which system-generated notifications (email, dashboard, mobile) they receive. |
Adding a program office user
You can quickly add a user who will have a program office role, such as an MSP (Managed Service Provider) or MSP administrator.
To create a new program office user, complete these steps from your Enterprise dashboard.
-
Select Admin > User Administration. The User List page displays.
-
Select Add New. An Add User – Details page displays.
-
Complete all required fields in these sections: User Information and Contact Information.
-
Complete other visible fields.
-
Select OK. The page refreshes and you’re prompted to confirm key fields on the user profile.
-
Reenter those fields to match your original entries.
-
Select OK.
-
Optional. If an alert displays notifying you of any errors, make the adjustments and select OK again.
A message displays indicating your changes have been applied. An email is sent to the new user with login instructions.
Adding other user types
Adding a non-program office user requires you to drill down through the User hierarchy to locate the specific user group you want to add a user to. Which group you need varies based on the user’s organization unit (OU). The number of levels you need to drill down varies from one site to another based on the client’s configuration.
If you’re adding a resource, it's assigned to the same Resource/Security user group regardless of supplier. You’ll add contractors who have been onboarded for an assignment to the Resource/Security user group.
TIP: The Resource/Security user group is not the same as each supplier’s Resource Pool. Each supplier is responsible for managing their own Resource Pool.
To create a new user profile, complete these steps from your Enterprise dashboard.
-
Select Admin > Security. The Security Administration page displays.
-
From the left Navigation panel, expand the Users folder.
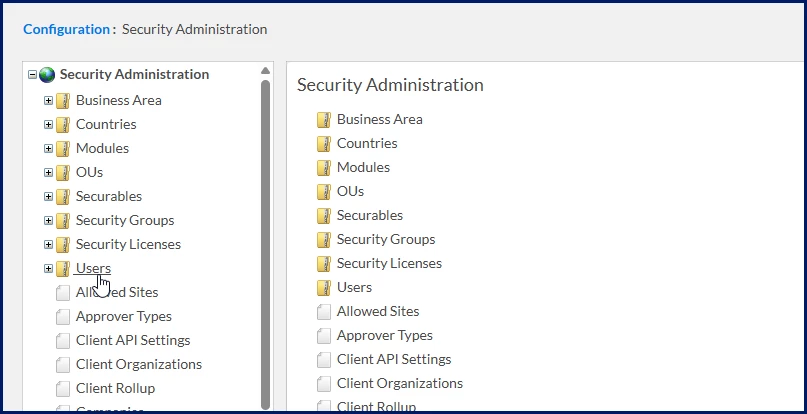
A list of parent-level user groups display, such as Clients, MSP, Resource, Suppliers.
-
Expand the applicable parent-level user group to which you want to add the user. Child-level groups display. The type and number of subsequent child groups vary based on your Enterprise configuration. For example, the child-groups could be geographies or business names.
-
Continue expanding the folders until you locate the user group to which you want to assign the new user. The Add User – Details page displays showing a Users list for that group at the bottom of the page.
-
Select Add New. An Add User – Details page displays. Required, available and prefilled fields vary based on the organization unit settings.
-
Complete all the required fields.
-
Optional. Adjust any prefilled fields.
-
Complete the other visible fields.
-
Select OK. The page refreshes and you’re prompted to confirm key fields on the user profile. Reenter those fields to match your original settings.
-
Select OK.
-
Optional. If an alert displays notifying you of any errors, make the adjustments and select OK again.
A message displays indicating your changes have been applied. An email is sent to the new user with login instructions.
Documentation release: Beeline Enterprise | Q3 2025