


After Beeline Enterprise is configured and the designated users are given permissions, Program Office users can add end client data to Enterprise.
As a Program Office user with the appropriate permissions, you can import end client data for multiple clients all at once. If you’re not familiar with the Web Import component and want detailed instructions, see the Web Import Tool: How to Guide.
You can also manually add end client data for a single client one at a time. To learn how, go to Adding data for instructions.
Beeline Best Practice. As a Program Office user, consider these criteria when creating end client data.
| Data element | Description |
|---|---|
| Name | Create a concise yet descriptive label so your users can easily recognize which entry to select when they’re choosing a client. |
| Code | Caution: The end client Code cannot be changed after you create it. Avoid spaces and special characters when you create a code. Use the formatting or style from the system of record if Enterprise is not the system of record and your data will be integrated with another system, such as worker upload, worker download, invoice, or other feed. |
| Description | Add an explanation for when and why a user might choose a particular end client. Or use the Description to link the Name and Code fields into one data field. For example, Client A has 123456 as their accounts payable system code. You might add Client A-123456 in the Description field. |
To import end client data, complete these steps from your Enterprise dashboard.
- Select the Preferences > VMS Settings > Data Management. A Data Management page displays.
- Select the Web Import link. An Import page displays.
- Select Add New. An Import—Status: Creating page displays.
- From the Import Type list, select Procurement Client.
- (Optional) Click the Procurement Client template link to download a Microsoft Excel® template you can use to add your end client data, and then use the file you create to import end client data.
- In the Name field, add the label for the file you’re importing.
- Click the Select link in the Select File frame.
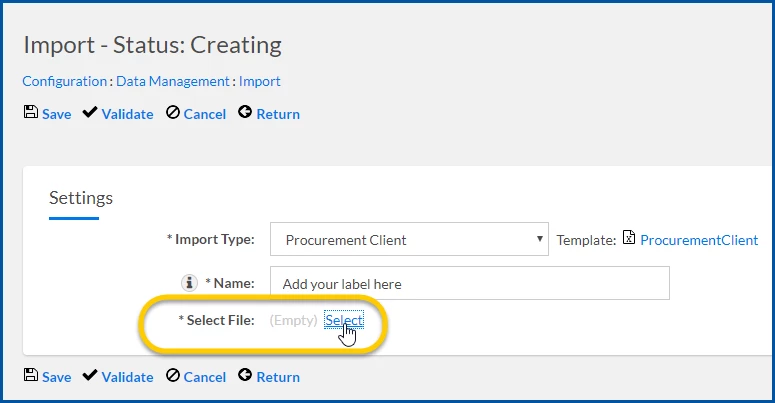
A Select Import Attachment dialog displays. - Select Choose File.
- Navigate to and upload the file with the end client data you want to import.
- From the Select Import Attachment dialog, select Upload.
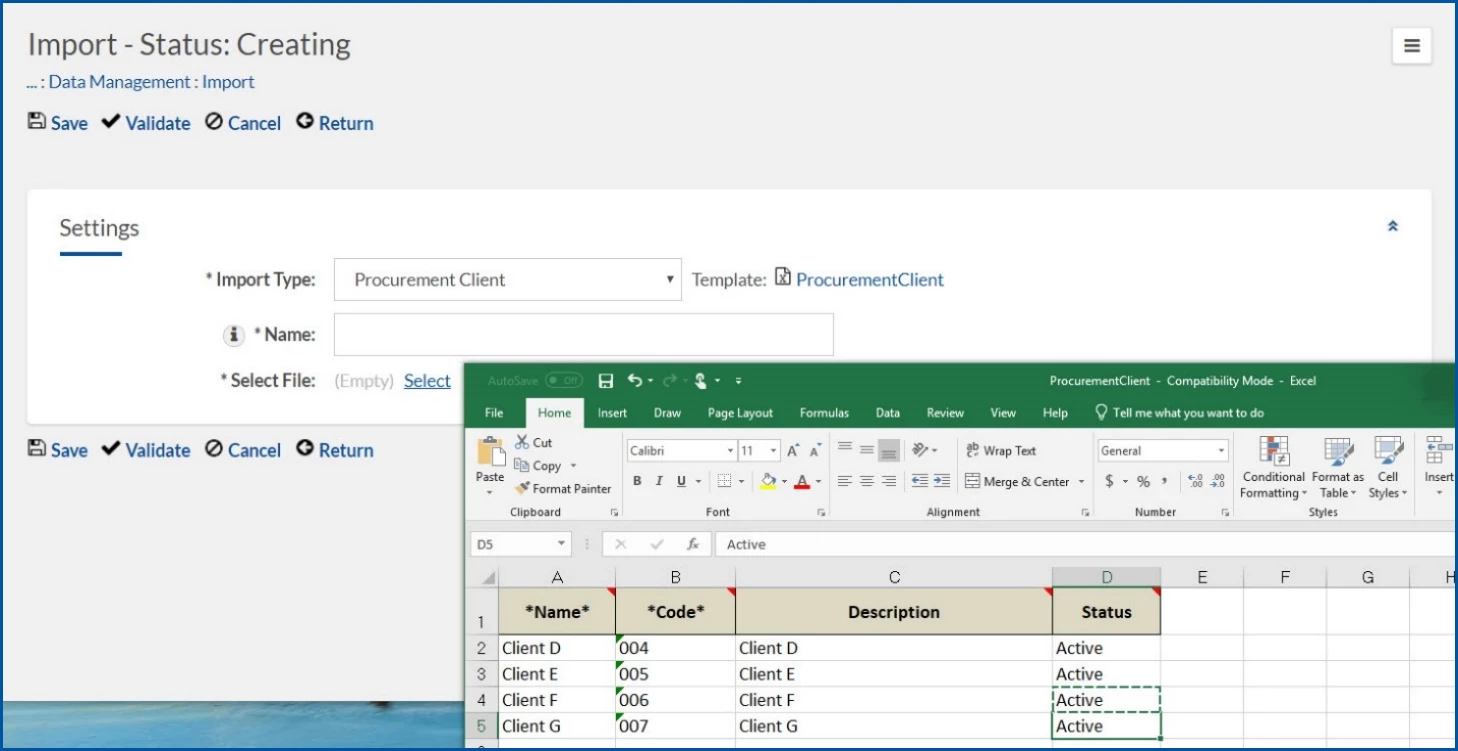
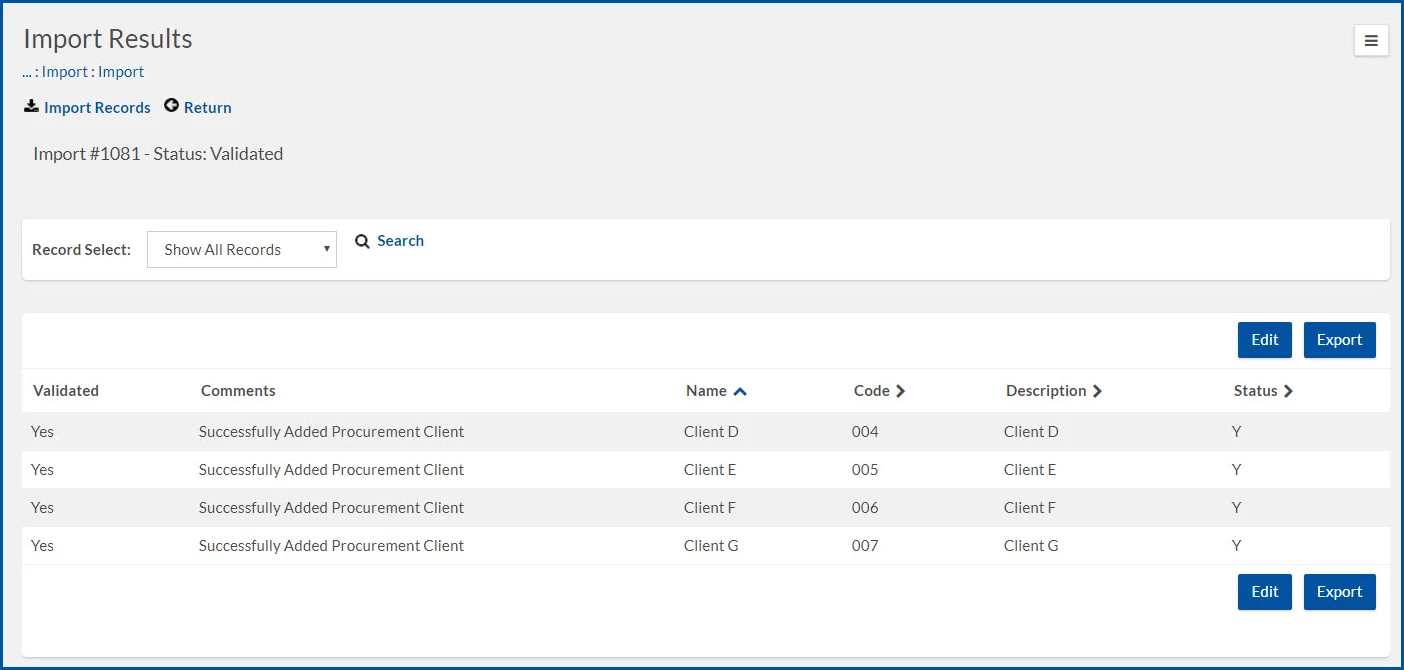
- After you’ve uploaded your import file, select Validate on the Import—Status: Creating page to make sure your records were successfully uploaded and the data criteria was authenticated.
Related articles
Documentation release: Beeline Enterprise | Q2 2019